
Friday Photo Tip | Why is My Photo Orange?
Have you ever taken a photo and noticed that the colors looked way off? Perhaps the whites looked slightly yellow/orange or the entire image had a bluish tint. Don't worry, you're not alone! AND it's easy to fix. These color changes occur when the white balance of your photo is off. For this week's Friday Photo Tip, let's talk about what white balance is and how to make sure it's correct in both smartphone and camera photos.
What is White Balance? Simply put, correct white balance is when the whites in your photos are actually white. Different lighting conditions emit different hues and this can affect the way white items appear in your images. Lightbulbs (tungsten light) in our homes tend to be yellow, florescent lights and cloudy days tend to be blue, while bright sunlight and camera flashes are more white/neutral. Our eyes automatically adjust to these variations, so you may not even notice them! However, cameras need a little assistance to reproduce colors accurately, and sometimes automatic settings miss the mark. That's where white balance comes into play.
How to Make your Whites White:
Utilize Presets and Auto White Balance. Most cameras offer preset white balance options like Daylight, Cloudy, or Tungsten. These presets are designed to compensate for different lighting conditions. Try experimenting with different presets to find the one that suits your scene the best. The Auto White Balance (AWB) setting can also be reliable in many situations, automatically adjusting colors for you.
Make Use of Natural Light: Natural light tends to be more neutral and easy to work with. If you’re shooting indoors, use window light for a balanced neutral lighting source. But DON’T MIX LIGHT. This is a big one. If you’re using window light, turn off all of your indoor lighting. If you don’t you’ll have mixed lighting on your subject which can cause ugly color casts of orange or blue. You want your light to be all the same color.
Post-Processing Tools: Even if all of the above doesn’t work and your photos have a slight color cast of blue or yellow, don't worry! You can easily correct it during post-processing. On your phone, navigate to the edit option and find the setting labeled “warmth” or “temperature” or “white balance”. There will be a slider with one side making your image more blue and the other making it more yellow. Play with this slider until you find the true-to-life color (white whites) that you’re looking for.
White balance may seem complicated at first, but by paying attention to the lighting conditions, utilizing presets, and making simple adjustments during post-processing, you can ensure that your images showcase true-to-life colors!
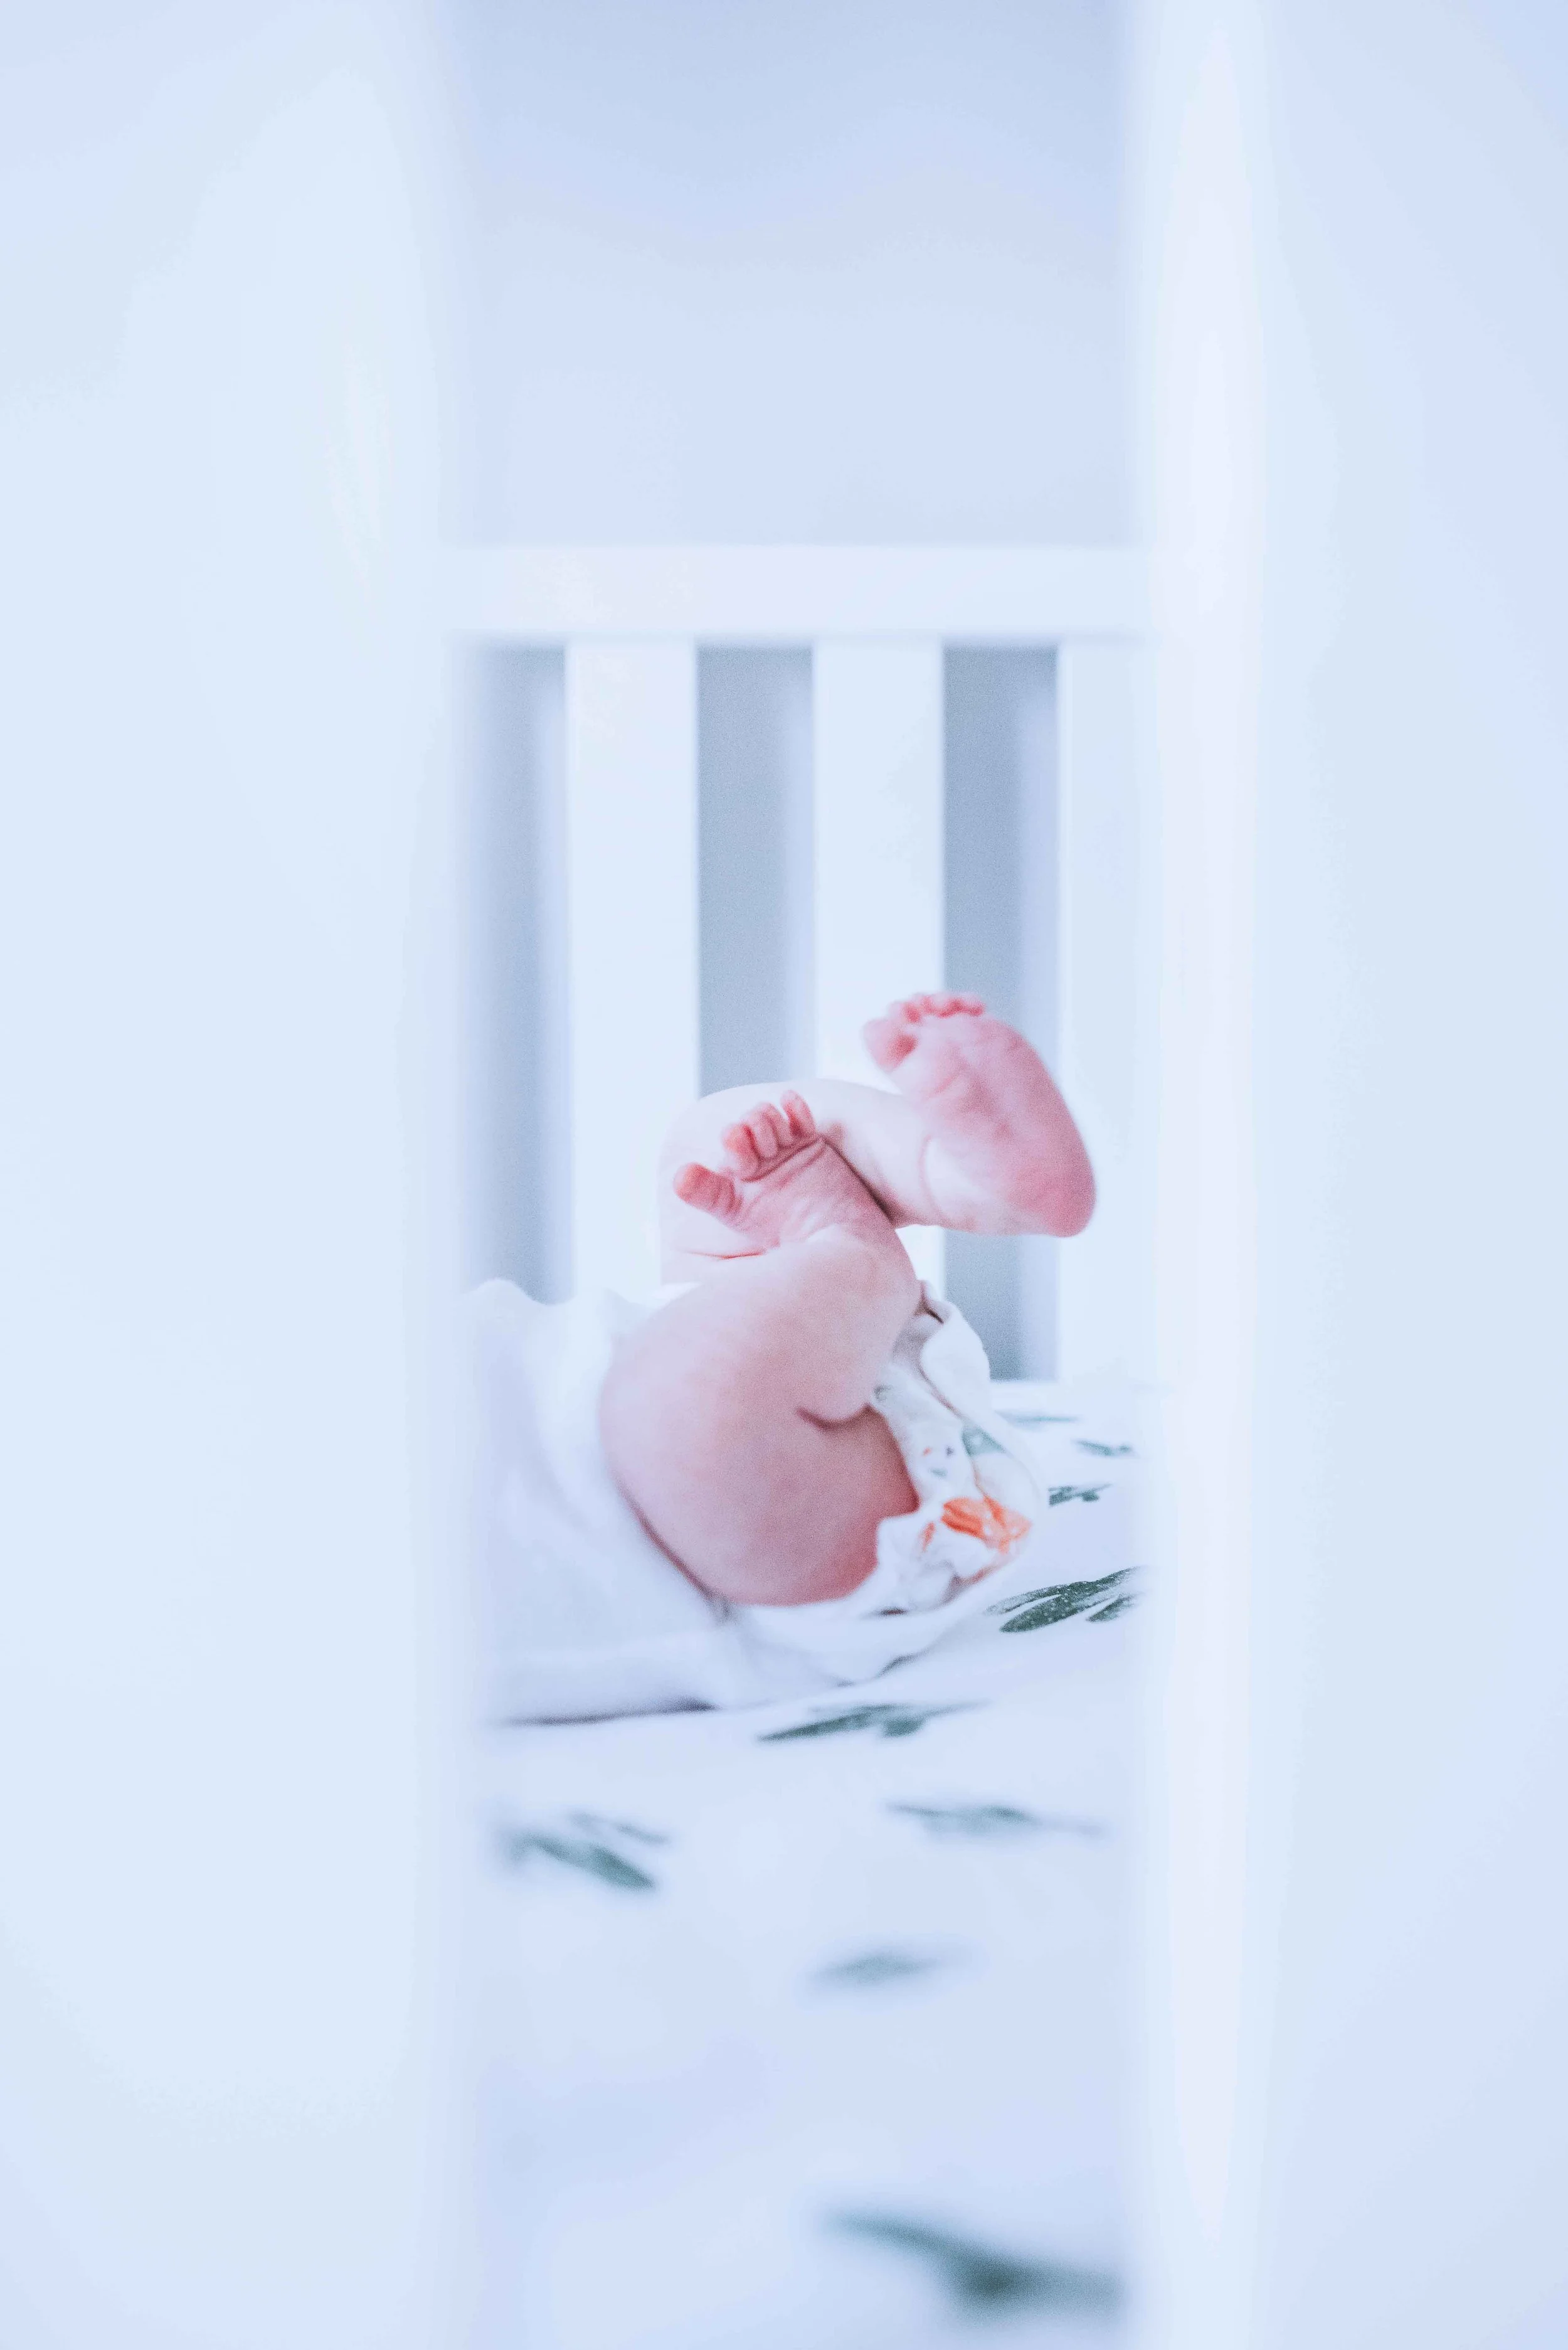
Too Cool/Blue

Correct White Balance
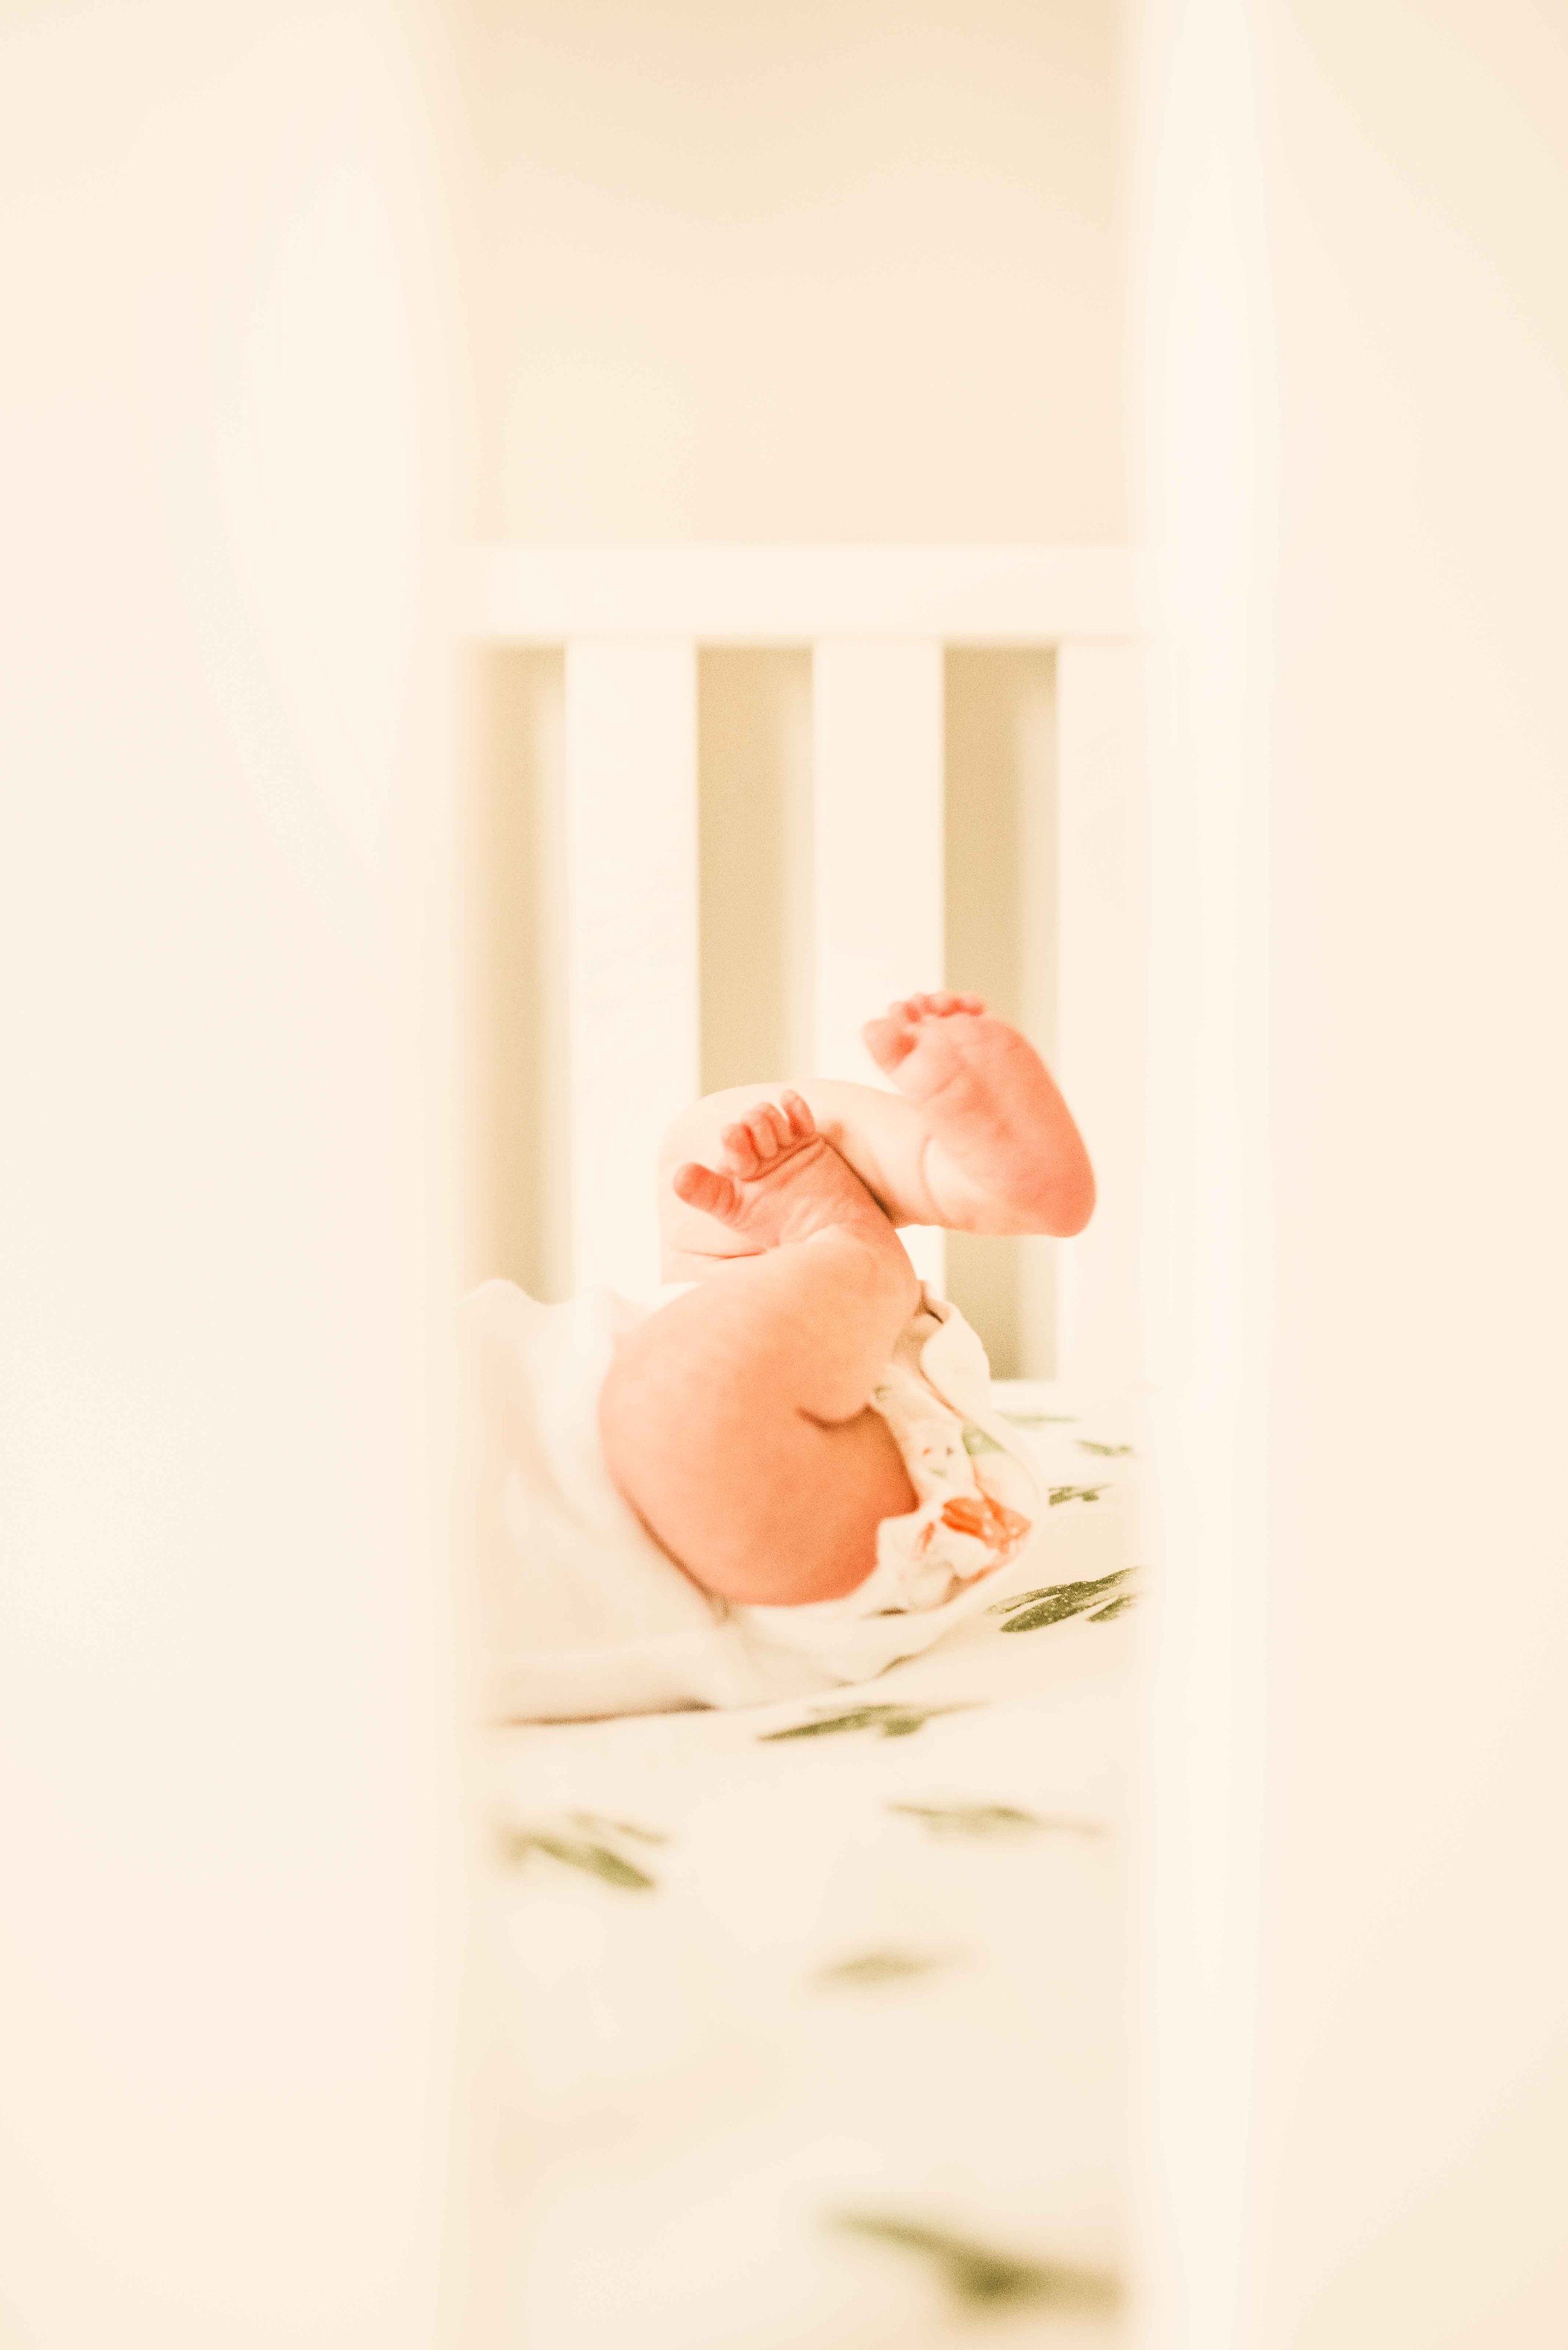
Too Warm/Yellow